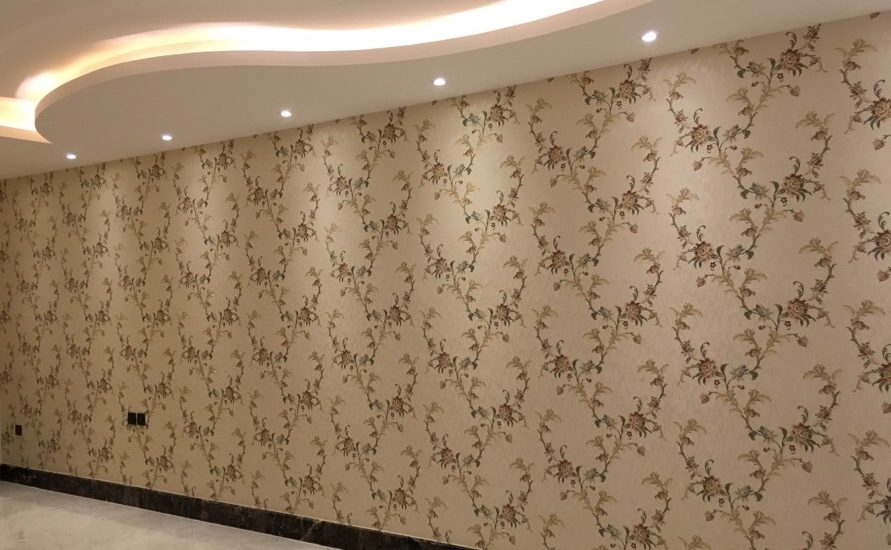
Wallpaper has always been a quick, colorful way to give a room style and visual interest. Unfortunately, ripped seams, bubbles, tears and other damage are common. And if you don't fix these problems right away, you'll end up having to replace the entire piece of wallcovering.
The good news is, fixing wallpaper isn't especially difficult, though it does take a few specialized tools and techniques. We'll focus on the three most common wall-paper repairs: loose seams, punctures and trapped air bubbles. To make repairs as invisible as possible, work slowly and carefully. Rushing yields sloppy work that's much harder to fix the second time around.
Save seams
Vertical seams between strips of wallpaper become loose for a variety of reasons. Too much glue might have been squeezed out of the seam when it was rolled flat. Or, with prepasted vinyl wallcoverings, seams start to peel open because the factory-applied adhesive didn't stick to the vinyl. What's more, seams on outside wall corners are prone to bumps and abrasions.
No matter where the loose seam is or what caused it, the repair procedure is the same: Dip a small artist's brush into wallpaper-seam adhesive (about $3 for a 4-oz. tube at paint and wallcovering stores). Spread an even coat of adhesive onto the underside of the exposed seam (photo 1). Then use a wooden seam roller to flatten the seam (photo 2). Clean off any excess adhesive with a damp sponge.
If a loose seam has a small, horizontal tear, be sure to roll the two flaps of the tear back down in their original position. Place the "top" piece—the one with the decorative vinyl surface—over the "bottom" flap to effectively hide the ragged white line of the backing paper.
Call Us : +971505332103
